Simulation Properties: Resources
The Simulation Properties panel allows you to edit Resources properties defined in the Simulation Browser.
To access the Resources' Simulation Properties, ensure the Simulation Properties panel is open and select the Simulation Browser's Resources tab. Select a specific Resource to open information in the Simulation Properties panel.
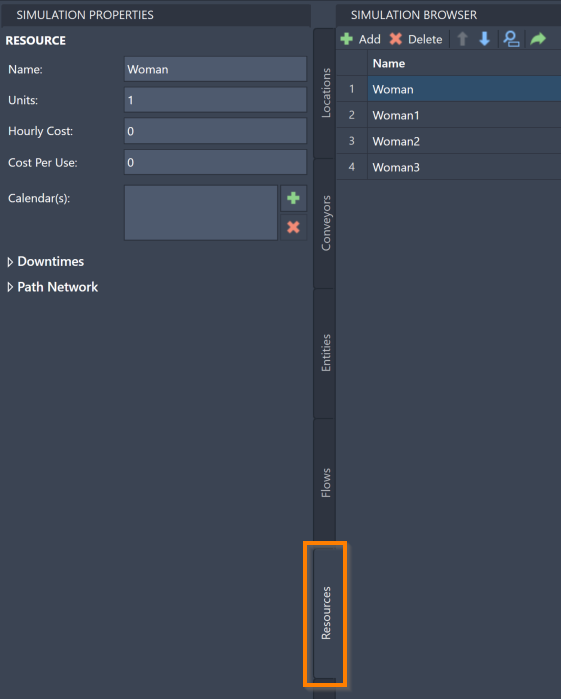
In the Simulation Properties panel, you can change a Resource's name, units, hourly cost, and cost per use. You can also define Downtimes for your Resources, as well as assign them to Path Networks.
Name
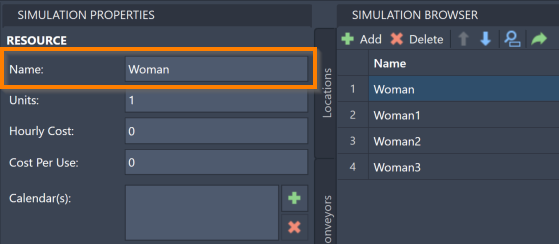
To change a Resource's name, select and revise the Simulation Properties' Name.
Units
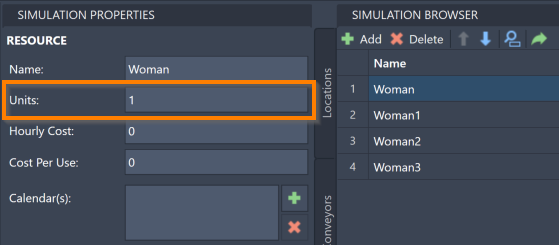
To change the number of available Resource units, select and revise the Simulation Properties' Units. ProModel accepts any integer between 1 and 999.
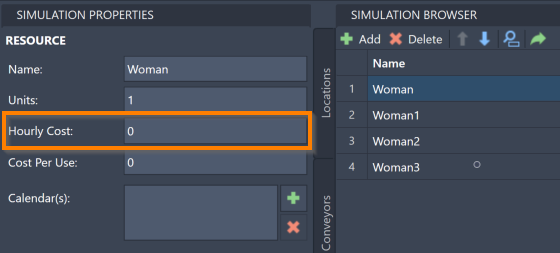
Hourly Cost
To change a Resource's hourly cost, select and revise the Simulation Properties' Hourly Cost. The hourly cost represents a Resource's expense in the simulation per hour. Using this feature helps to determine how much a particular model costs to run.
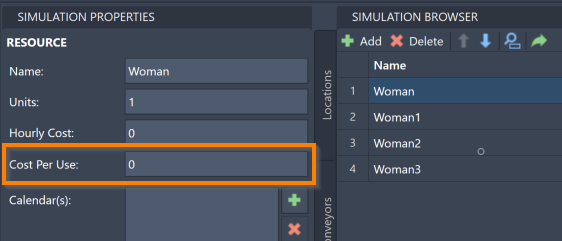
Cost Per Use
If an hourly cost does not make sense for your Resource, such as a contract worker that gets paid when they complete a task, rather than an hourly payment, use Cost Per Use. The cost per use represents a Resource's expense each time it is used in the simulation.
Calendar(s)
Use Calendar(s) to add one or more Calendar files to a Resource that specifies when a Resource must take breaks. For more information on the Calendar Editor and Calendar files, see Calendar Editor.
To add a Calendar file, select the Calendar(s) add icon ![]() . Your device’s file explorer opens to select the desired file.
Added files are listed in the Calendar(s) pane with the select file's directory in the Files pane. Also, an Interrupt option opens to suspend the selected Calendar.
. Your device’s file explorer opens to select the desired file.
Added files are listed in the Calendar(s) pane with the select file's directory in the Files pane. Also, an Interrupt option opens to suspend the selected Calendar.
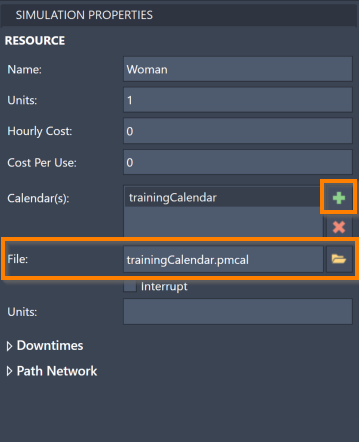
To delete a Calendar file, select the file and select the Calendar(s) delete icon ![]() .
.
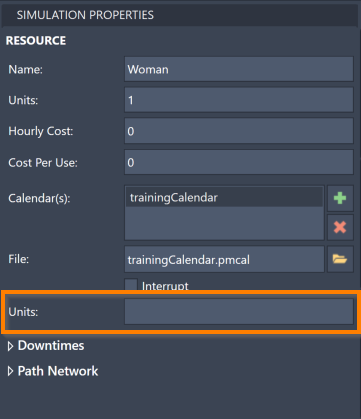
Units - Additional
Use the second Units to determine how many Resource units are using the calendar(s).
Downtimes
The Simulation Properties panel also offers tools to create and edit Resource Downtimes. Resource Downtimes work similarly to Location Downtimes.
To access the Resource Downtime information, select the Resource in the Simulation Browser and the Simulation Properties' Downtimes.
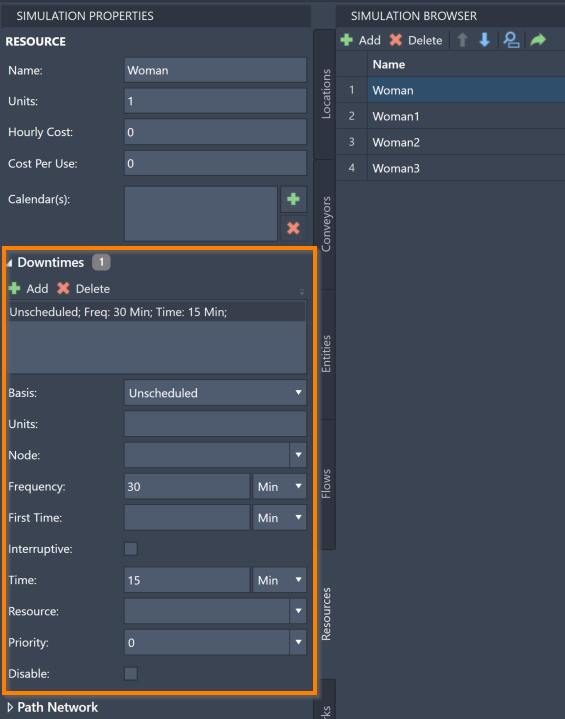
To add a Downtime:
- Select Add on the Downtime toolbar. A Downtime is created.
- For Basis, select the Downtime type:
- Scheduled Downtimes - This time is not included in the simulation statistics.
- Unschedule Downtimes (default) - This time is included in the simulation statistics. The percentage of time the Location spent in Unscheduled Downtime is shown in the % Down field. For more information about simulation results, see Simulation Results.
- Usage Downtimes - Time based on the Location’s usage time rather than the overall simulation time. If a Location is not being used, it does not come any closer to needing its Usage Downtime break.
- For Units, select how many units of this particular Resource are participating in the Downtime.
- For Frequency, enter a number to represent how often this Downtime occurs. Note the corresponding menu to choose the unit of time. Defaults tp 30 Minutes.
- For First Time, enter a number tp determine at what time the first instance of this Downtime occurs. This is the elapsed time from the simulation start for this Downtime to first take place. Note the corresponding menu to choose the unit of time. The default unit of time is Minutes, and First Time is blank.
- For Interruptive, select to suspend other tasks to complete the Downtime. Use this option if a Resource involved with the Location must also take a break when the Location begins its Downtime.
- For Time, enter the amount of time that the Downtime should take. Note the corresponding menu to select the unit of time. Defaults to 15 Minutes.
- For Resource, select any Resource to be involved in the Downtime. elect the Resources value and type a Resource name. You may leave Resources blank (default), which involves no Resources in the Downtime.
- For Priority, select the priority (1-10 or Interrupt) for obtaining the selected Resource and entering into the Downtime. Downtimes with a higher priority receive Resources and begin before other events with a lower priority. Interrupt is the highest priority. Defaults to 0.
- For Disable, select to suspend a Downtime without deleting it for the purposes of testing different options for your simulation.
To delete a Downtime, select a Downtime and select Delete on the Downtime toolbar.
Path Network
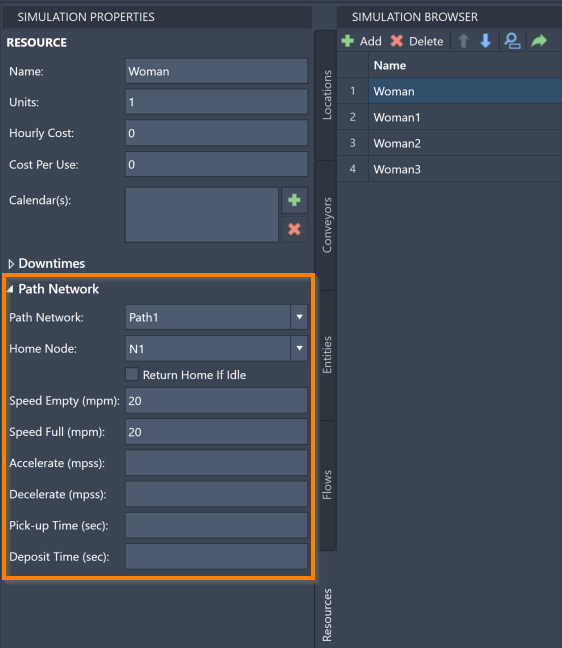
The Simulation Properties panel also allows you to add Resources to the Path Networks you have created. Select the Path Network value to open a menu of the Path Networks you have created and select the Path Network. Once a Path Network has been selected, additional settings are available.
