Simulation Properties: Locations
The Simulation Properties panel allows you to edit the Locations properties you have defined in the Simulation Browser.
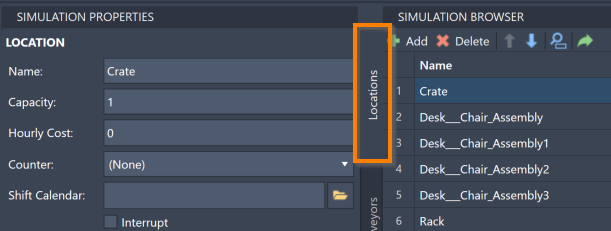
To access a Location's Simulation Properties, ensure the Simulation Properties panel is open and select the Simulation Browser's Locations tab. Select a specific Location to see information in the Simulation Properties panel.
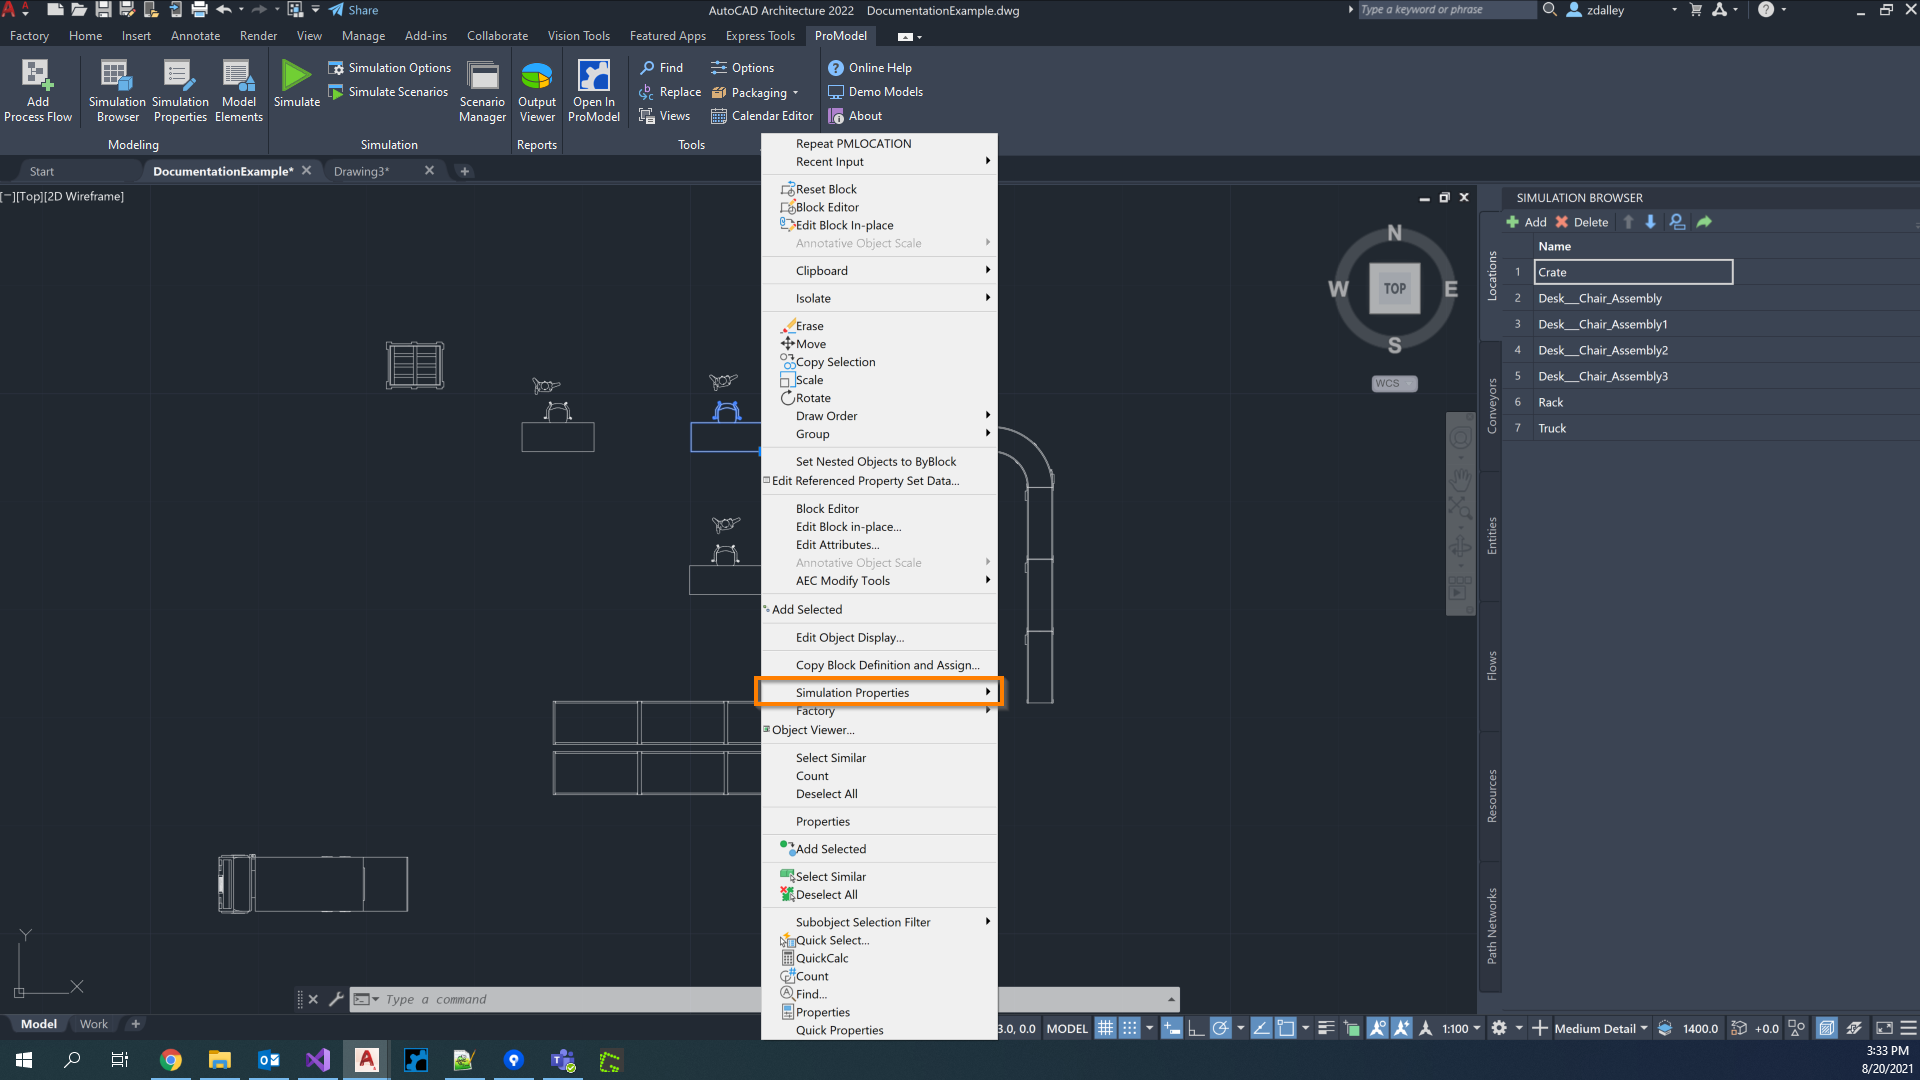
Note that you can also right-click an asset in the layout and select Simulation Properties.
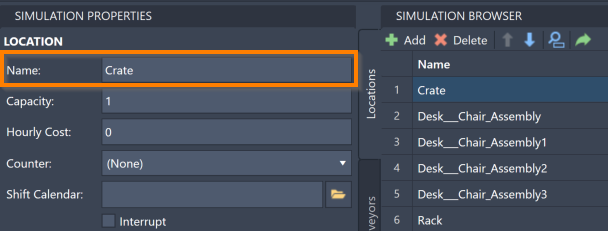
In the Simulation Properties panel, you can change a Location's name, capacity, and hourly cost. You can also add Setups and Downtimes for a particular Location.
To change the name of a Location, change the Name value in the Simulation Properties panel.
Capacity
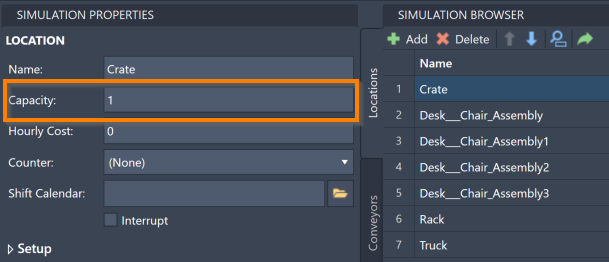
You can also change a Location's capacity using the Simulation Properties panel. The Location's capacity is the maximum number of Entities the Location can have there at any given time. A Location’s capacity can be set to any integer between 1 and 999,999. You may also use Infinite or INF, which ProModel equates to 999,999.
When Entities attempt to move from one Location to another, ProModel checks the destination Location’s current quantity. When a Location is capacitated, meaning that it has reached the maximum quantity, no other Entities are able to go there. The Entities instead, wait at their current Location until capacity becomes available at their intended Location, or choose a different route if one is defined for them. While an Entity waits for a Location to become available for them, the Entity is considered blocked.
Note that Resources are not considered in a Location when they are visiting it, and so do not take up a Location’s capacity.
Any Location with a Capacity greater than 1 is considered a Multi-Capacity Location, and is reflected as such in the Simulation Results.
To change a Location's capacity, select the Capacity value in the Simulation Properties panel.
Hourly Cost
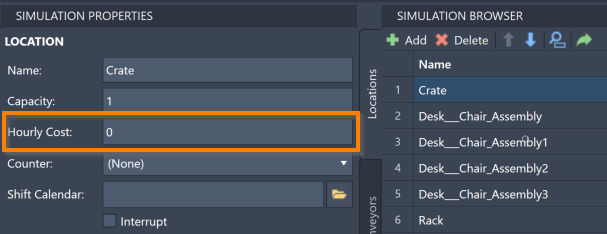
To change the Location's Hourly Cost, select the Hourly Cost value in the Simulation Properties panel. The Location's Hourly Cost represents the specific Location's hourly expense to run in the simulation. For example, a machine in a factory uses a certain amount of energy every hour, creating an hourly cost that the factory owner must pay to keep the factory running. Using this feature helps to determine how much a particular model costs to run.
Counter
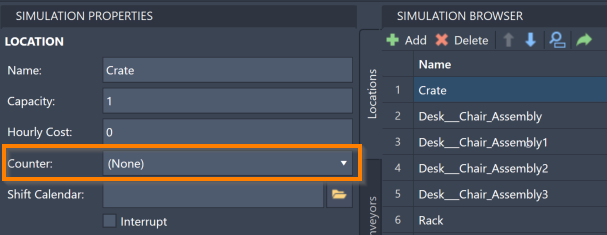
To add a counter that displays the number of Entities currently in that Location, select Counter option. Select an orientation to add a counter to your Location.
Shift Calendar
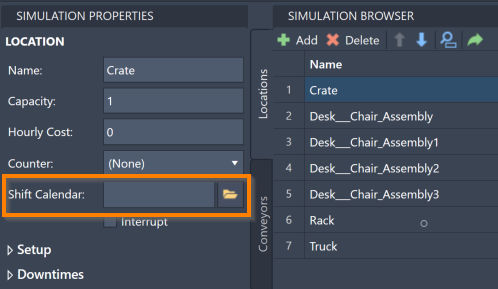
Use Shift Calendar to add a Calendar file to your Location that specifies when a Location takes breaks. For more information on the Calendar Editor and Calendar files, see Calendar Editor guide of this documentation.
To add a Calendar file to your Location, revise the Shift Calendar value, or select the folder icon to open your device’s file explorer where you may then navigate to and select a file.
Setups and Downtimes
The Simulation Properties panel also offers tools to create and edit Location Setups and Downtimes, which are different types of breaks from operations that Locations take during the simulation.
Setups
Setups are breaks that occur at Locations when one Entity type has been in a Location and a different Entity type enters the Location. The Setup break is the time it takes the Location to set up whatever is necessary to process the new Entity type. For example, if the meat station at a sandwich shop is adding turkey to sandwiches for the first half of the day, but then gets new orders for roast beef sandwiches, the worker needs some set up time to switch the meat from turkey to roast beef at their station.
To access the Location Setup information, ensure the correct Location is selected in your Simulation Browser menu and select the Simulation Properties' Setup option.
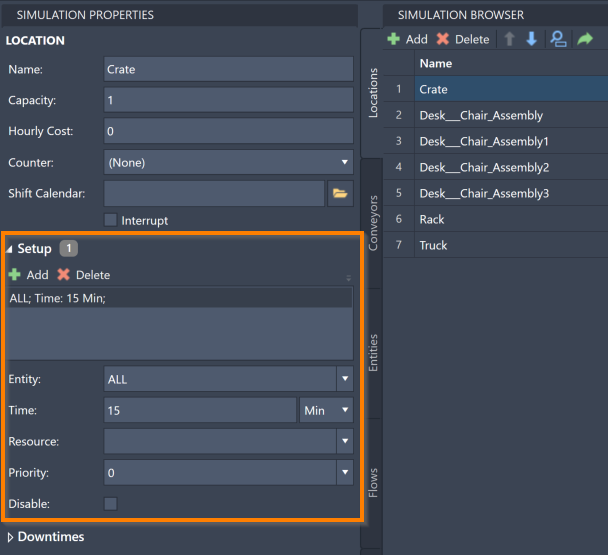
To add a Setup:
- Expand the Simulation Properties panel Setup pane.
- Select Add on the toolbar. A new Setup opens.
- For Entity, select the Entity type to trigger the Setup. You also have the ALL option (default), which includes all Entities in the Setup.
- For Time, enter the Setup duration period. Note the corresponding menu to select the unit of time. Defaults to 15 Minutes.
- For Resources, select any Resource to be involved in the Setup break. In our sandwich shop example from the beginning of the Setup section, the worker (Resource) at the meat station must be involved in the Setup in order to switch out the meat types. Select the Resources value and type a Resource name. You may leave Resources blank (default), which involves no Resources in the Setup.
- For Priority, enter how likely the Location is to finish its current task before taking the Setup break. If the priority is 0 (default), the Setup is seen as a low priority and the Location does not interrupt its current task to begin the break. The Interrupt option is the highest priority, and ensures the Location stops its current task to begin the break.
- For Keep,
- For Disable, select to suspend a Setup without deleting it for the purposes of testing different options for your simulation.
To delete a Setup from a Location, select a Setup and select Delete on the Setup toolbar.
Downtimes
Downtimes are breaks that occur at Locations and are based on times within the simulation. There are three types of Downtimes:
- Scheduled Downtimes - This time is not included in the simulation statistics.
- Unschedule Downtimes - This time is included in the simulation statistics. The percentage of time the Location spent in Unscheduled Downtime is shown in the % Down field. For more information about simulation results, see Simulation Results.
- Usage Downtimes - Time based on the Location’s usage time rather than the overall simulation time. If a Location is not being used, it does not come any closer to needing its Usage Downtime break.
To access a Location's Downtime information, ensure the correct Location is selected in the Simulation Browser panel and expand the Simulation Properties' Downtimes.
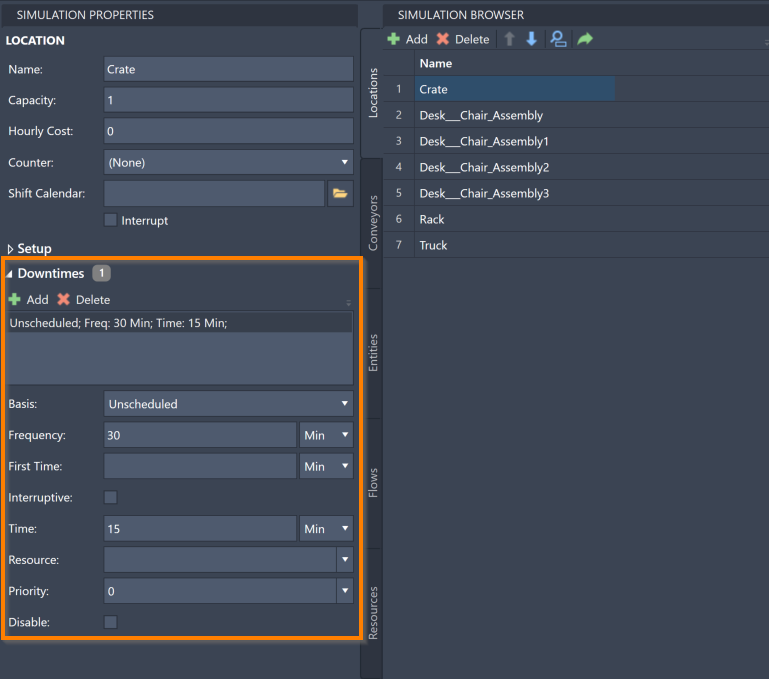
To add a Downtime:
- Select Add on the Downtime toolbar. A Downtime is created.
- For Basis, select whether it is a Scheduled Downtime, an Unscheduled Downtime (default), or a Usage Downtime.
- For Frequency, enter a number to represent how often this Downtime occurs. Note the corresponding menu to choose the unit of time. Defaults tp 30 Minutes.
- For First Time, enter a number tp determine at what time the first instance of this Downtime occurs. This is the elapsed time from the simulation start for this Downtime to first take place. Note the corresponding menu to choose the unit of time. The default unit of time is Minutes, and First Time is blank.
- For Interruptive, select to suspend other tasks to complete the Downtime. Use this option if a Resource involved with the Location must also take a break when the Location begins its Downtime.
- For Time, enter the amount of time that the Downtime should take. Note the corresponding menu to select the unit of time. Defaults to 15 Minutes.
- For Resource, select any Resource to be involved in the Downtime. elect the Resources value and type a Resource name. You may leave Resources blank (default), which involves no Resources in the Downtime.
- For Priority, select the priority (1-10 or Interrupt) for obtaining the selected Resource and entering into the Downtime. Downtimes with a higher priority receive Resources and begin before other events with a lower priority. Interrupt is the highest priority. Defaults to 0.
- For Disable, select to suspend a Downtime without deleting it for the purposes of testing different options for your simulation.
To delete a Downtime from your Location, select a Downtime and select Delete on the Downtime toolbar.