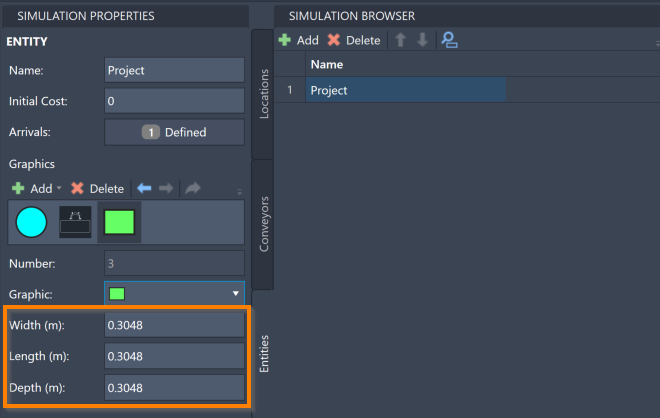
Simulation Properties: Entities
The Simulation Properties panel allows you to edit the Entity properties defined in the Simulation Browser.
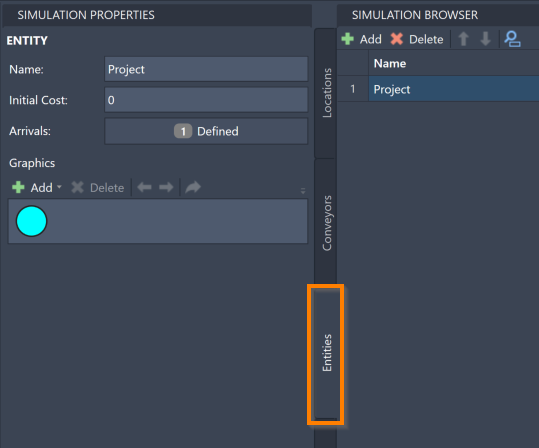
To access the Entities Simulation Properties, ensure the Simulation Properties panel is open and select the Simulation Browser's Entity tab. Select a specific Entity to see its information in the Simulation Properties panel.
In the Simulation Properties panel, you can change the Entity name, initial cost, width, length, depth, and graphic. You can also define Arrivals, which is explained in Arrivals.
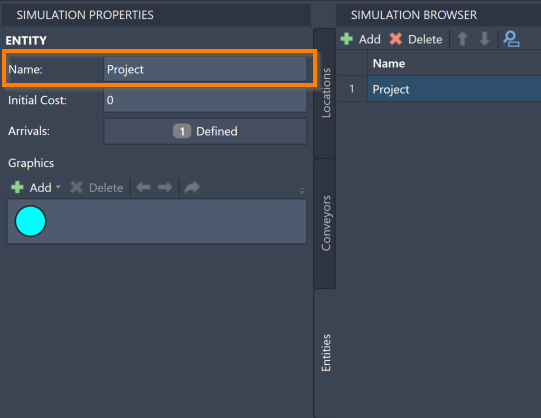
To change the name of an Entity, revise Name in the Simulation Properties panel.
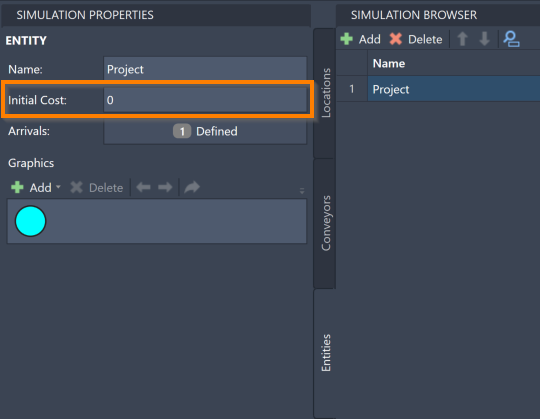
To change the initial Entity cost, edit the Initial Cost value in the Simulation Properties panel. The initial Entity cost determines the Entity's monetary value as it first enters the system. This feature helps to determine a particular model's run cost.
Arrivals
The Simulation Properties panel also allows you to define Entity Arrivals. Arrivals are how you determine information about how and when Entities enter your system.
Add an Arrival
To add an Arrival to an Entity, select Arrivals in the Simulation Properties panel. The Arrivals dialog opens.
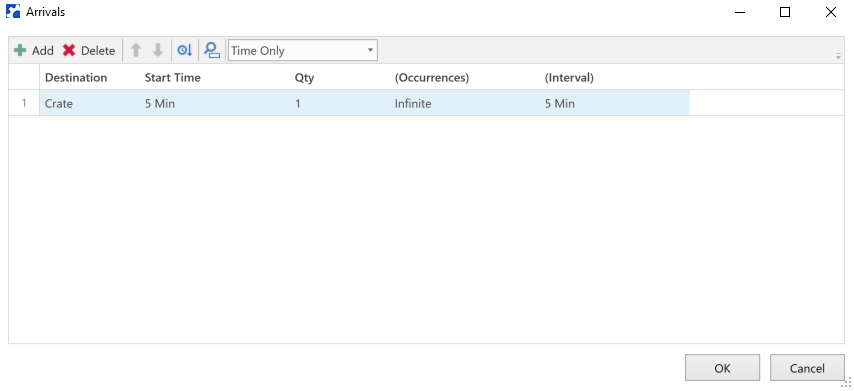
- Select Add on the Arrivals dialog toolbar. A new line is added to the list.
- Select the Arrival Type: Time Only (default), Weekly Time, or Calendar Date.
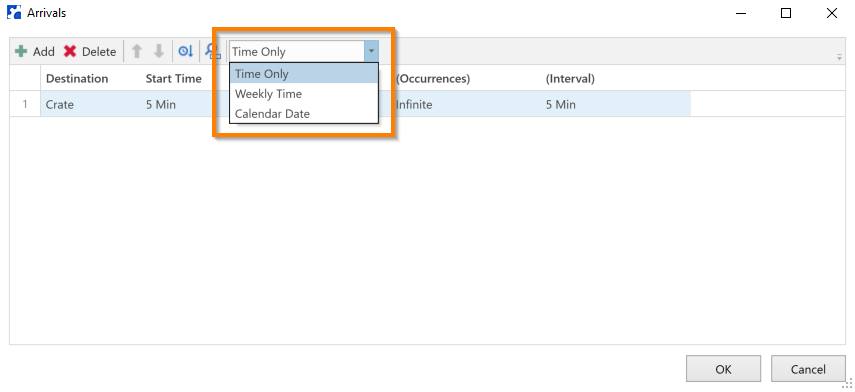
- Select the blank Destination field. A menu opens for you to select a valid Location.
- Select the keyboard Tab to advance to the next field. Depending on the Run Length Type:
- For Time Only Arrivals, use Start Time to define the amount of elapsed time before the Entity arrives. Note the menu to select the unit of time. Defaults to 5 Minutes. If you leave Start Time empty, ProModel looks to (Intervals) for the start time.
- For Weekly Time Arrivals, use Week to select a week this Entity's arrival begins. Defaults to Week 1. Use Day to select which weekday the Entity begins arriving. Defaults to Monday. Use Time to set the hour and minutes (HH:MM) the Entity begins arriving. Select the field to see possible times, which range from 12:00 AM to 11:30 PM at half hour intervals. You may also manually type a more precise time. Defaults to 8:00 AM.
- For Calendar Date Arrivals, use Date to select a specific calendar date for your Entity's first arrival. Select the Date field to open a calendar to select a date. You may also type a date manually. Defaults to the same as the date when it is created. Use Time to set the hour and minutes (HH:MM) the Entity begins arriving. Select the Time field to open possible times, which range from 12:00 AM to 11:30 PM at half hour intervals. You may also manually type a more precise time. Defaults to 8:00 AM.
- The following settings apply universally to all three Arrival types:
Qty or Quantity - Set how many iterations of this Entity enter the system in this Arrival. ProModel accepts any integer between 1 and 999,999. This field cannot be left blank.
(Occurrences) and (Interval) - Use if you would like a particular Arrival to repeat at regular intervals throughout the simulation. Use (Occurrences) to define how many times this Arrival repeats during the simulation. ProModel accepts any integer between 1 and 999,999. You may also use Infinite or INF, which ProModel interprets as 999,999. Use (Interval) to define how much time passes between each repetition. Note the menu to select the unit of time.
If you would instead like your Entity to arrive at irregular intervals throughout the simulation, you must create additional Arrivals for the same Entity.
- Continue using the Add button to create Arrivals at different times.
Delete an Arrival
To delete an Arrival, select an Arrival from the list and select Delete on the Arrivals dialog toolbar.
Reorder, Sort, and Search Arrivals
To reorder your Arrivals within the Arrivals dialog, select an Arrival and use the blue arrows ![]() to move the Arrival.
to move the Arrival.
Select the Sort records by time icon ![]() to order the Arrivals list based on start time, beginning with the time closest to the simulation start.
to order the Arrivals list based on start time, beginning with the time closest to the simulation start.
To search for a particular Arrival, select the search icon ![]() to open the search panel.
Once open, you can use the search panel to find an Arrival using any of the information you have defined for it.
to open the search panel.
Once open, you can use the search panel to find an Arrival using any of the information you have defined for it.
When you have finished defining your Arrivals, select OK. The Arrivals dialog closes. If you would like to close the dialog without saving your changes, select Cancel.
After closing the Arrivals dialog, the Simulation Properties' Arrivals number reflects how many Arrivals you have defined.
Graphics
The Graphics section allows you to change how your Entity appears in the final simulation. You may also add additional graphics to represent your Entity here.
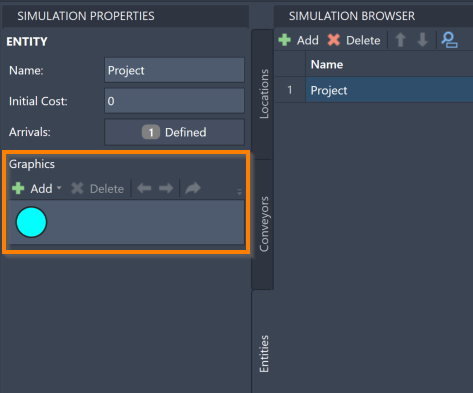
To add an additional graphic to represent your Entity, select Add on the Graphics toolbar.
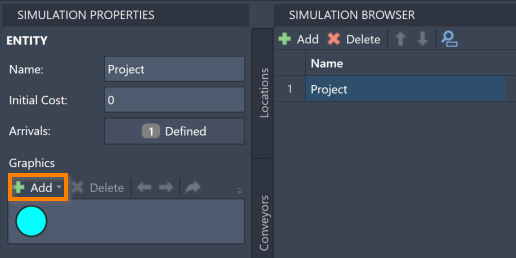
A menu opens to select either Shape or Block for your graphic.
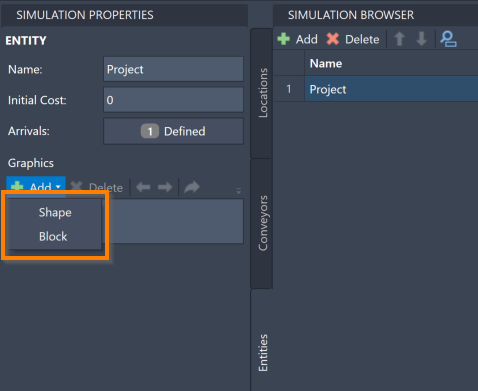
Your selection determined what type of graphic represents the Entity you are creating.
- A Shape graphic displays in the simulation as a simple shape, such as a circle or square. Select Shape to create an additional Shape graphic.
- A Block graphic displays in the simulation as a graphic of your choice from the selection of graphics being used in your AutoCAD® drawing. Select Block to create an additional Block graphic. The following message opens in the command box:

Select a graphic being used in the layout as your Entity's graphic.
Once you have selected your graphic’s type, it is added to the Graphic pane along with your other graphics.
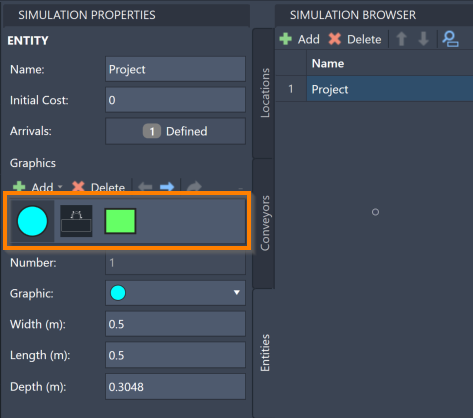
To delete a graphic, select a graphic in the Graphic pane and select Delete on the Graphics toolbar.
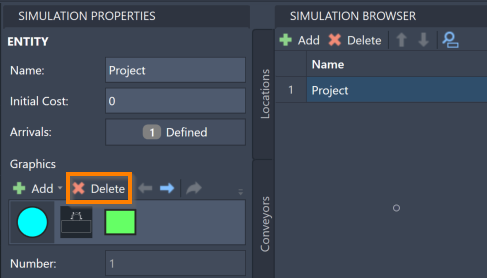
To reorder the graphics within the Graphic pane and change the Number value, select a graphic in the Graphic pane and use the blue arrows to move a graphic forwards and backwards. Note that an Entity defaults to the leftmost graphic with the Number value 1 when it arrives in a system.
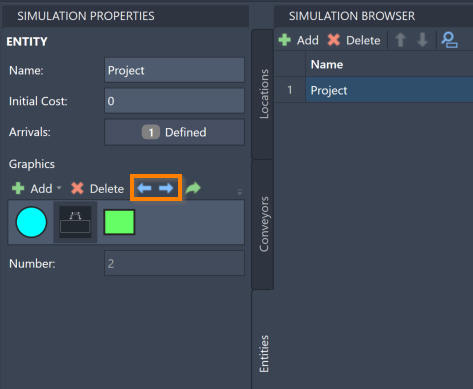
To navigate to a Block graphic in the model, select a Block graphic in the Graphic pane and select the green arrow.
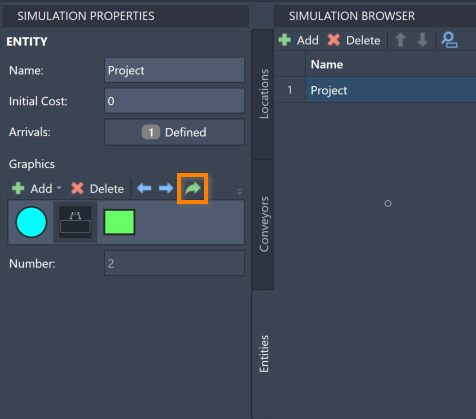
Shape Graphic Properties
To change a Shape Graphic's properties, select the graphic in the Graphic pane. The properties open where you can revise the graphic’s color, shape, and other characteristics. Note that these settings are not available for block graphics since certain settings are determined by the appearance of your chosen block graphic.
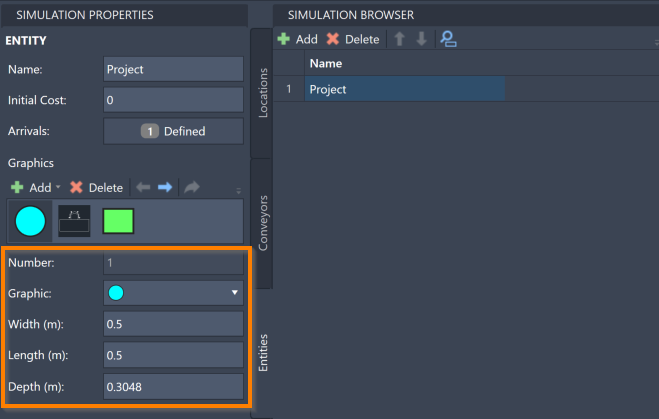
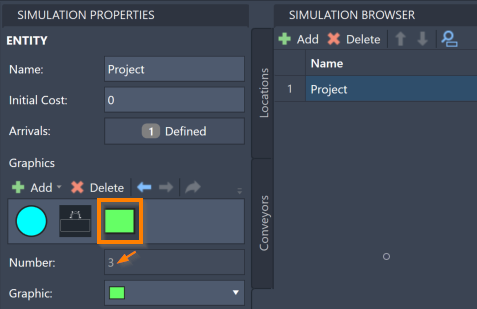
Number can be used in Logic statements to change an Entity’s graphic at particular points in your model.
The Number value cannot be changed manually, and is determined by the graphic’s order among the other graphics defined for an Entity.
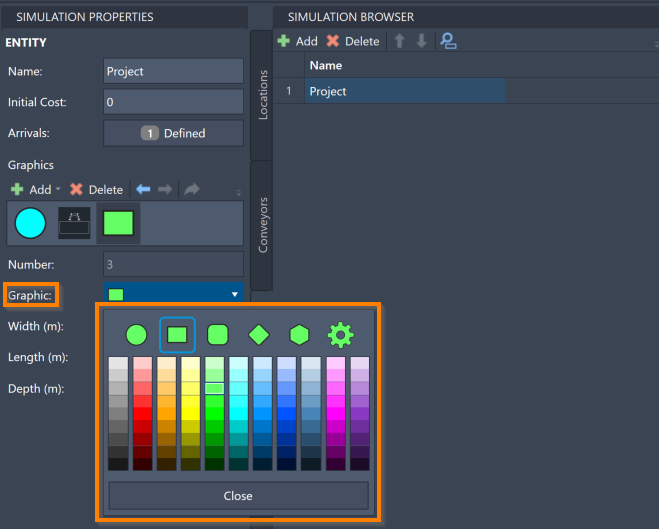
To change a graphic's shape and color, select the Graphic menu to open available shapes and colors.
To change the width of a graphic, change the Width value. Note that the unit of measurement is in meters (m).
To change the length of a graphic, change the Length value. Note that the unit of measurement is in meters (m).
To change the depth of a graphic, change the Depth value. Note that the unit of measurement is in meters (m). Note also that depth is only a relevant setting if you choose to view a 3D model animation in ProModel 3D Animator For Inventor.
