Simulation Properties: Conveyors
The Simulation Properties panel allows you to edit the Conveyors properties you have defined in the Simulation Browser.
To access a Conveyor's Simulation Properties, ensure the Simulation Properties panel is open and select the Simulation Browser's Conveyors tab. Select a specific Conveyor to see its information in the Simulation Properties panel.
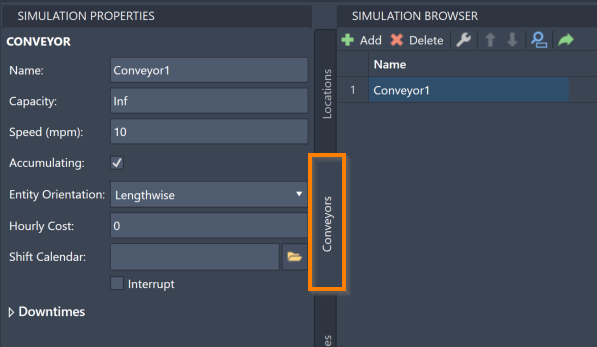
Within the Simulation Properties panel, you can change a Conveyor's name, capacity, speed, type, entity orientation, and hourly cost. You can also define Downtimes for your Conveyors.
Name
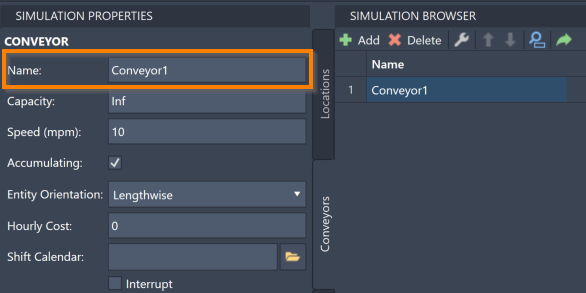
To change a Conveyor name, revise Name in the Simulation Properties panel.
Change the Conveyor capacity using the Simulation Properties panel. Conveyor capacity is the number of Entities that can travel on the Conveyor at any given time. A Conveyor’s capacity can be set to any integer between 1 and 999,999. You may also use Infinite or INF, which ProModel equates to 999,999. How Entities interact with a Conveyor’s capacity works similarly to how capacity was described in Locations.
Any Location, including Conveyors, with a Capacity greater than 1 is considered a Multi-Capacity Location, and is reflected as such in the Simulation Results.
Capacity
To change a Conveyor capacity, change Capacity in the Simulation Properties panel to your desired capacity.
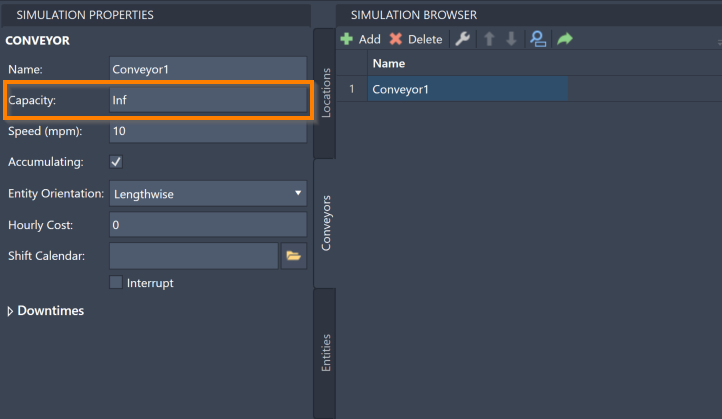
Note that if the size of your Entities differ, this may not be an accurate way to define Conveyor capacity, since ten of your smallest Entity may take up significantly less space on your Conveyor than ten of your largest Entity. In this case, set Capacity to Infinite and let the defined Entity width or length determine the capacity based on your Conveyor’s length.
Speed
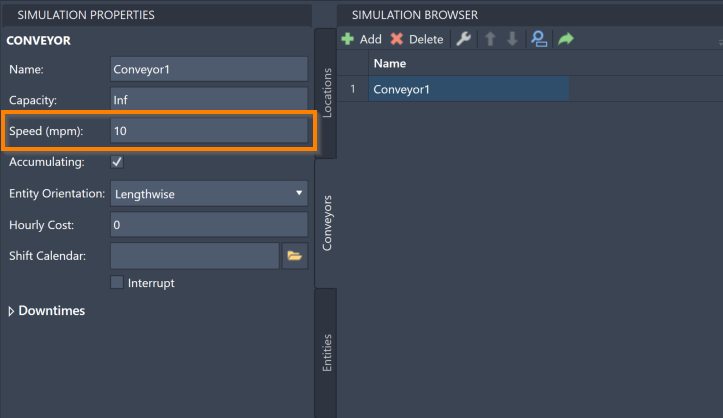
To change the speed at which your Conveyor moves, edit Speed. Note that the speed is measured in miles per minute (mpm).
Accumulating
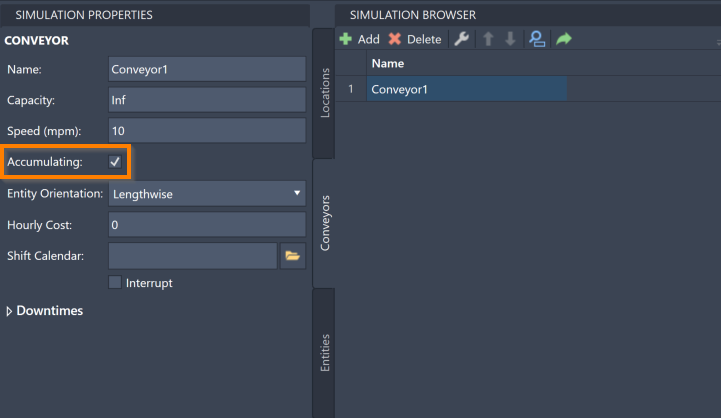
Accumulating Conveyors represent a gravity-based, roller type conveyor belt. Entities move on an Accumulating Conveyor until they “bump” into the next Entity or reach the end of the Conveyor. Non-Accumulating Conveyors represent a conveyor where the entire conveyor track moves. All Entities move in unison on a Non-Accumulating Conveyor while maintaining a distinct distance between each other.
Entity Orientation
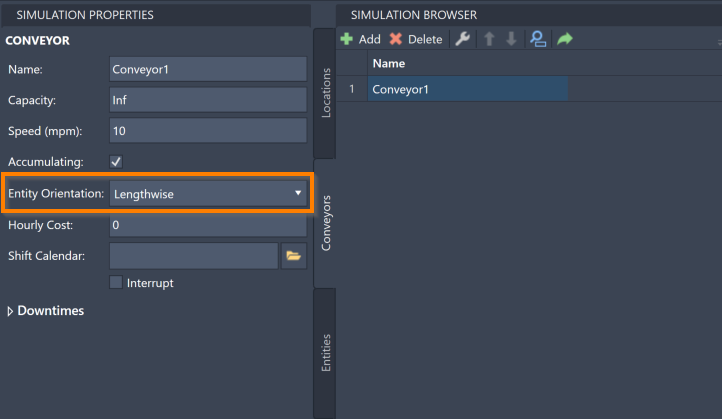
You may also use the Simulation Properties panel to change the Entity orientation, which determines what direction your Entities are oriented in as they travel along a Conveyor. Select Entity Orientation to select a Lengthwise or Widthwise orientation. If an Entity moves on a Conveyor sideways (left to right or right to left), use the Widthwise orientation. If an Entity moves on a Conveyor up or down, use the Lengthwise orientation.
Hourly Cost
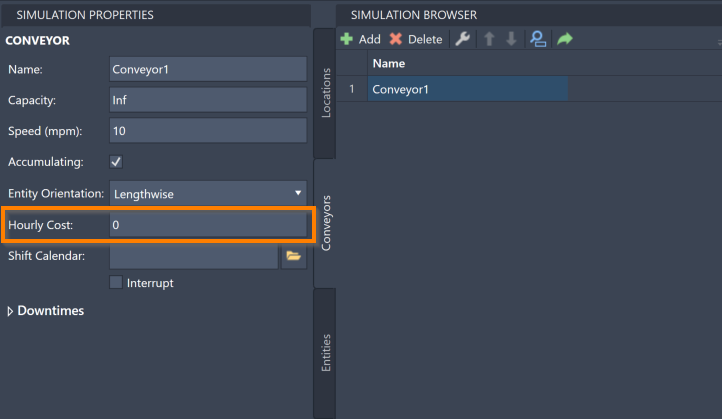
To change the hourly cost of a Conveyor, edit Hourly Cost in the Simulation Properties panel. The hourly cost of a Conveyor represents how much that particular Conveyor costs you to run in the simulation per hour. Using this feature helps to determine model cost.
Shift Calendar
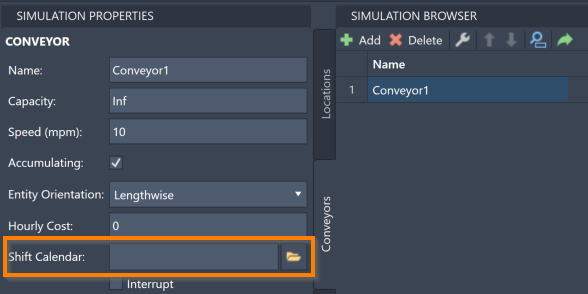
Use Shift Calendar to add a Calendar file to your Conveyor that specifies when a Conveyor needs to take breaks. For more information on the Calendar Editor and Calendar files, see Calendar Editor.
To add a Calendar file to your Conveyor, type the file name into Shift Calendar, or select the file icon to the right to open your devices’s file explorer where you may navigate to and select the file.
Downtimes
The Simulation Properties panel offers tools to create and edit Conveyor Downtimes. Conveyor Downtimes work similarly to Locations.
To access a Conveyor's Downtime information, select the Conveyor in the Simulation Browser panel and select the Downtime menu in Simulation Properties.
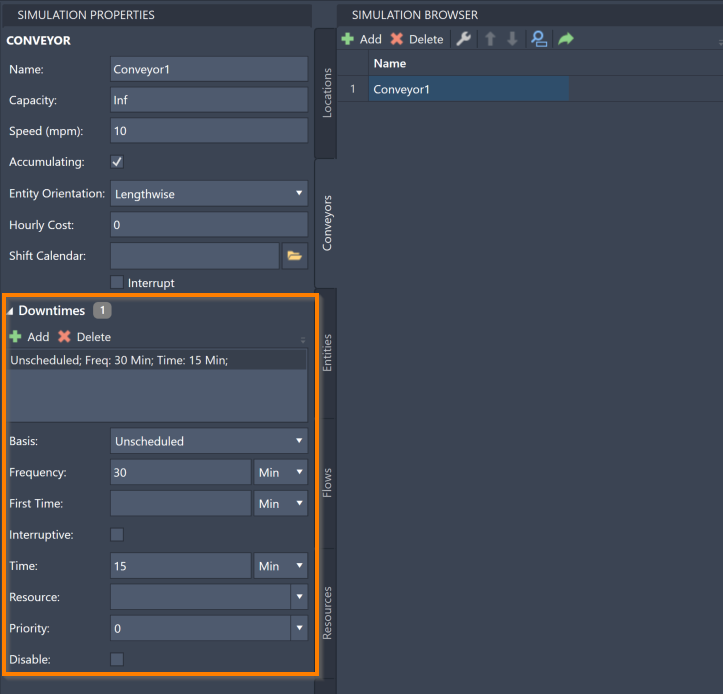
To add a Downtime to your Conveyor, select Add on the Downtimes toolbar. Downtime Properties open below the toolbar.
Once a Downtime is added, select to edit the following:
- Basis - Determine whether a Downtime is a Scheduled Downtime, an Unscheduled Downtime, or a Usage Downtime. Defaults to Downtime is Unscheduled.
- Frequency - Enter a number to represent how often this Downtime occurs. Note the corresponding menu to select the unit of time. Defaults to 30 minutes.
- First Time Enter a number which determines the first Downtime instance occurs. The time you enter should be the amount of time after the simulation start for the first Downtime instance to take place. Note the corresponding menu to select the unit of time. The default unit of time is Minutes, and First Time is blank. This setting does not impact Usage type Downtimes.
- Interruptive - Select to stop other tasks during the Downtime. Defaults to cleared.
- Time - Enter the Downtime duration. Note the corresponding menu to select the unit of time. Defaults to 15 Minutes.
- Resource - Determine if a Resource needs to be involved in the Downtime break. Use this option if a Resource involved with the Conveyor should also take a break when the Conveyor begins its Downtime. Select to open a menu containing Resources. You may also choose Select None, which is the default and involves no Resources in the Downtime.
- Priority - Select the priority (1-10 or Interrupt) for obtaining the selected Resource and entering into the Downtime. Select to open a menu containing possible priorities. Downtimes with a higher priority recieve Resources and begin before other events with a lower priority. The Interrupt option is the highest priority. Defaults to 0.
- Disable - Suspend a Downtime without deleting it for the purposes of testing different options. Defaults to cleared.
To delete a Downtime from your Conveyor, select the Downtime and select Delete on the Downtimes toolbar.